Updated June 2022
There are still a lot of practical applications for online music teaching. If you haven’t dived into online teaching yet, it’s not too late to set up your virtual studio!
The following are just a few basic ideas to get you started. Then, be on the lookout here for upcoming demos and tips to take your online teaching to the next level!
1. Choose a video platform
Among the many options for video conferencing are Zoom, Skype, GoogleMeet, FaceTime (for Apple users), Rock Out Loud Live, Forte, and even apps like WhatsApp. Each home situation is unique, so you may have to use different platforms depending on the student’s device and wifi capability. My current go-to is Zoom because it allows for easy scheduling, screen sharing, and recording. Zoom will link to my digital calendar, allowing me to quickly invite students and keep everything up to date in one place.

The screen-share option lets me display music from a tablet or iPad so I can notate fingering, expression marks, and other notes in real time for the student. I also work through online theory and ear-training activities by screen sharing and clicking “share computer audio.”

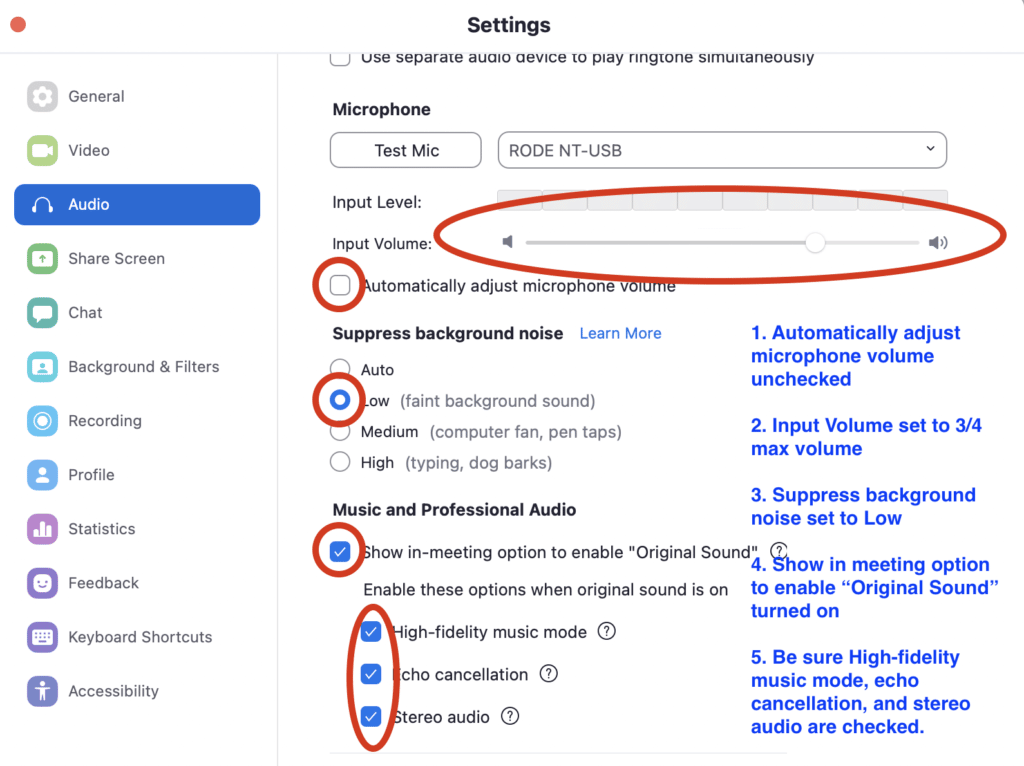
Zoom records with a click of a button, and the video can be downloaded to my computer or the cloud, allowing me to share past lessons with students easily. The waiting room feature is particularly handy for handling back-to-back lessons. When using Zoom, I always enable high-fidelity music mode and disable background noise filters for better sound. Here are some audio setting suggestions for the newest version of Zoom as of June 2022.
No matter what platform you choose, try it out beforehand. Test it with a friend to make sure everything works on both ends.
2. Guide students and parents for an optimal setup
When it’s time to set up the student’s camera, ask him or her to angle the device so that it shows both hands and all the keys if possible. The device may need to sit on a stool or table a few feet back from the piano. If possible, the device should be close to the wifi source or even connected with an ethernet cable for the best internet connection.
If this is the first online lesson with a student, plan to spend a few minutes getting situated, perhaps with the parent assisting. Remember to be encouraging and flexible during the setup as technology issues can sometimes be frustrating.
3. Find equipment and create your virtual studio
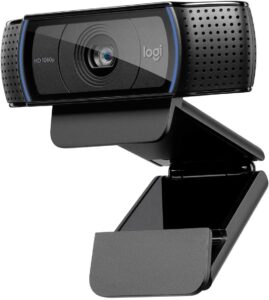
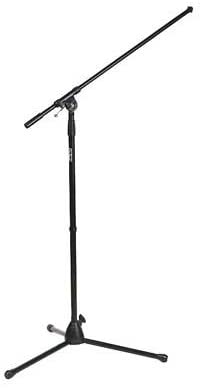
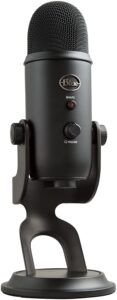
With a bit of planning and extra equipment, you can create multiple camera angles so students clearly see your face and playing demonstrations, as well as a bird’s eye view of the keys or even a side view of the pedals. I use my laptop for the main video, but I have a Logitech webcam that I hang from a boom mic stand, and I often add a tablet to the mix well. I keep a tripod mount adaptor handy for my phone and use an external USB microphone for better sound. If you use two or more devices, make sure you only join audio with one device. If you don’t have a mic stand or other equipment, get creative with what you have on hand! You’ll be surprised what you can do with a basic setup.
Here are a few items I have found useful:
Logitech Webcam Find it here on Amazon.
Boom Mic Stand Find it here on Amazon.
Tripod Mount Adaptor Find here on Amazon

External USB Microphone Find here on Amazon
4. Explore digital resources available to you
One major benefit of virtual learning is the ability to use applications and software to make lessons more exciting.
Both OBS Studio and ManyCam are free streaming apps that provide a way to organize and control your various onscreen camera angles and computer windows.
Classroom Maestro software displays notes on a staff or keyboard as you play them. Integrate this with one of the platforms above and your students will think lessons are quite fancy! Current price for this software is $69.
When screen-sharing scores, it’s especially helpful to keep PDFs in an app that allows you to notate on the digital page. Apps like forScore for Apple and MobileSheets for Android are $15 or less per app and provide editing tools for marking the score. Simply scan in your scores and import the PDF! (Pro tip: some scores may already be scanned and available in IMSLP or available for digital purchase on publisher websites.)
Online music theory sites, such as teoria.com and musictheory.net make it easy to screen share theory activities like scale building, interval ear training, and rhythmic dictation.
Use GoogleDocs to keep lesson notes up to date and easily accessible to students and parents.
If sound quality is poor, you can have students record on their phones and send you the audio file. You can listen during the lesson and still give feedback in real-time. On newer mobile devices, simply having the student send the recording in a text message will usually retain the quality of the recording. Other platforms that are great for sharing videos include GoogleDrive, Marco Polo App, and DropBox.
5. Remember the final touches
Finally, keep in mind these last-minute tips to maximize student learning:
- Have scores of all music the student is learning. Number the measures in your score, and have your students number their measures!
- Focus on one or two concepts per activity or piece. The pacing of online lessons may be slower and keeping it simple helps student attention span.
- Remember you won’t be able to talk while they play (including counting!) due to video lag. Sometimes, I have students turn on their metronome and count out loud to check the pulse in sticky spots.
- Use phrases like “my turn, your turn” to keep the lesson moving along.
- If you or your students are having audio quality issues, be sure to check your settings one more time. Sometimes it is just a matter of a quick adjustment to improve your audio.
- If all else fails and the video or audio is not as good as previous lessons, try having the student end the call and join again. Sometimes this works. 🤷
Benefits
While many of us would prefer to teach lessons face to face, online teaching merits consideration in many situations. For example, what if you have a student move to another city who still wishes to have lessons with you? Or what if you or the student is sick, on vacation, or otherwise unable to meet in person?
Virtual lessons provide a method to continue learning without pause, maintaining the all-important relationship between teacher and student.
There are many secondary benefits too. For example, we get to see the student’s practice setup and can advise on ways to improve the at-home experience. Our students must be more responsible, making sure to have all their materials available and writing their own notes in scores and assignment books.
Teaching must be highly focused, covering one or two topics at a time to make learning effective. And finally, virtual lessons allow for easy lesson recording, so students can go back and view the instruction later if needed.
I am grateful for the opportunity to explore new ways to share music and to continue with my students even when we cannot meet in person. So, let’s all pull out our webcams, tablets, and creative ideas and get to work!

Dr. Olivia Ellis teaches piano, group piano, pedagogy, and chamber music at Messiah University in Mechanicsburg, Pennsylvania. She’s an editor for Piano Magazine and has published several books including the Easy Piano Lead Sheets and Chord Charts series. She’s constantly creating new activities and games to teach concepts, and loves helping other teachers find their niche.