
We embark on a new blog-post series to share our favorite tried-and-true piano teaching tips from some of the best experts in our field. This installment includes some of our favorite solutions for Elementary Piano Technique. From smelling big flowers to swinging like a monkey, we hope that you will learn something “quick and easy” that you can use during your next piano lesson.
Smell a Big Flower to Correct Posture – Irina Gorin
To improve posture, tell students to pretend that they are smelling a big, beautiful flower. As students inhale deeply, their posture is naturally corrected without causing them to stiffen or hyperextend.

An overcorrection in posture can often occur when we tell students to “sit straight and tall.” A stiff, arched back is the last thing we want! Instead, ask students to breathe deeply to expand and lift the body into a comfortable and effective playing position.
The Monkey Swing – Irina Gorin
Irina Gorin provides a terrific analogy for teaching lateral motion, and it’s called “the monkey swing.”

Like monkeys who swing from branch to branch, our arms should gently swing from note to note. Small leaps require a tiny swing while larger intervals require a bigger swing.
You can also place a small plush monkey on the student’s wrist to provide a fun reminder for lateral motion.
The Hand Position Cave – Irina Gorin
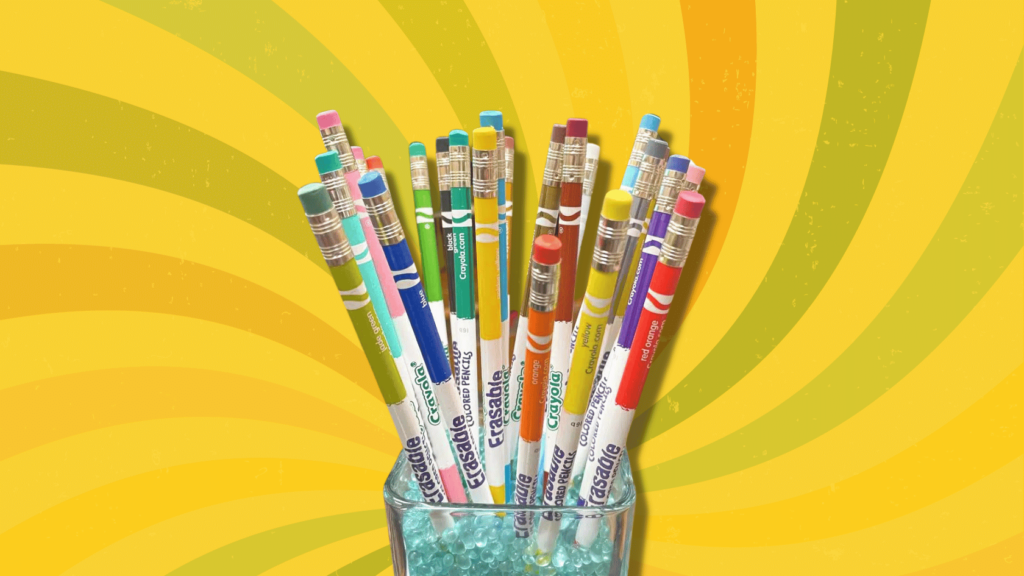
To teach a good hand position, Irina Gorin tells students that a tiny animal lives in a cave beneath their hands. Students really enjoy getting to pick their favorite animal. She tells students that the cave can never collapse in order to keep the animal safe and sound inside. You can even use these puzzle erasers to take it a step further!
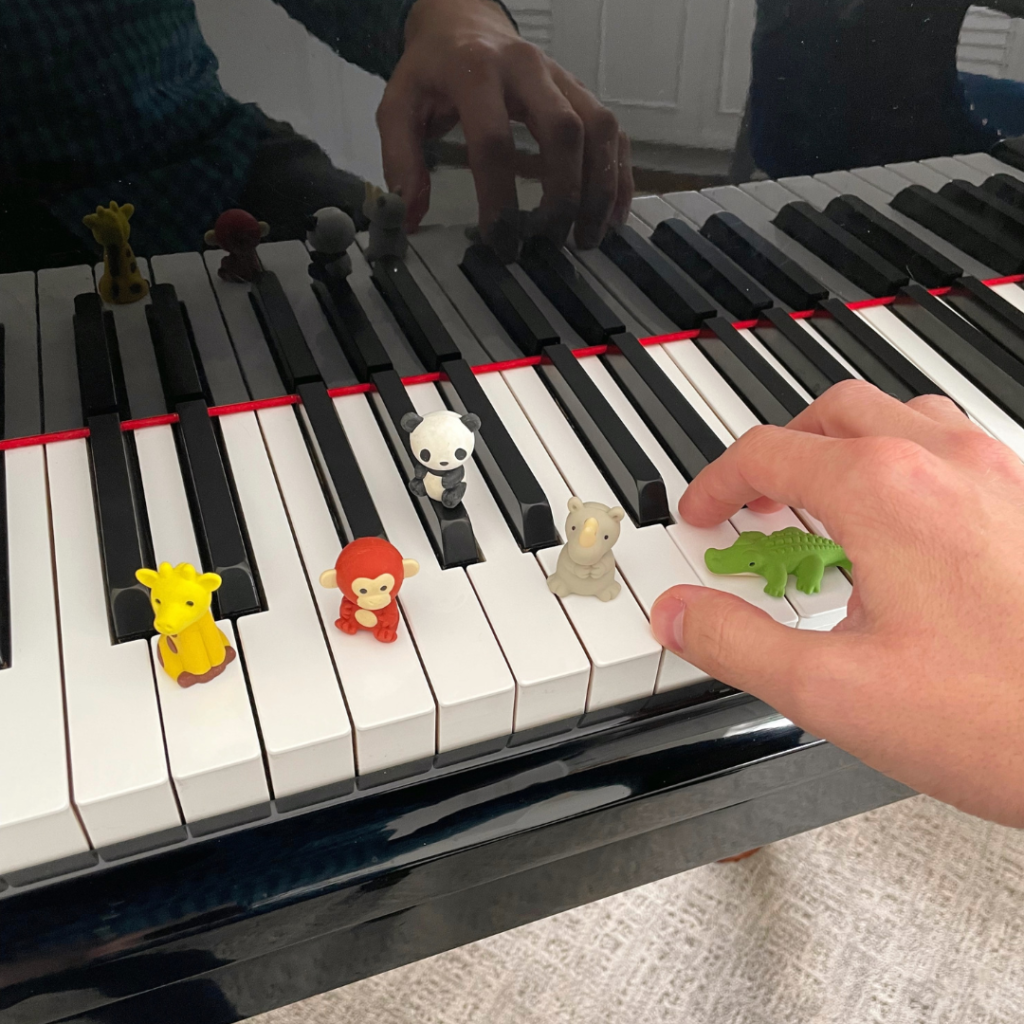
When I do this with my students, I also demonstrate what can happen when the cave collapses. A small amount of drama and storytelling is probably the secret ingredient that wedges this idea in their minds forever—students keep bringing this up for weeks afterward!
While some method books recommend that students pretend they are holding a ball or other round object, these ideas can cause students to form their hand position with too much tension, and the hands can tend to grasp the keys. With the hand position cave, we can instead talk about supporting the roof of the cave upwards with our fingers, which creates a very different feeling that is free from excess tension.
Another variation of this is the “Igloo” where you tell students to shape their hands like the curve of an igloo. You can tell students to be careful not to squish the penguins or people inside their igloo!
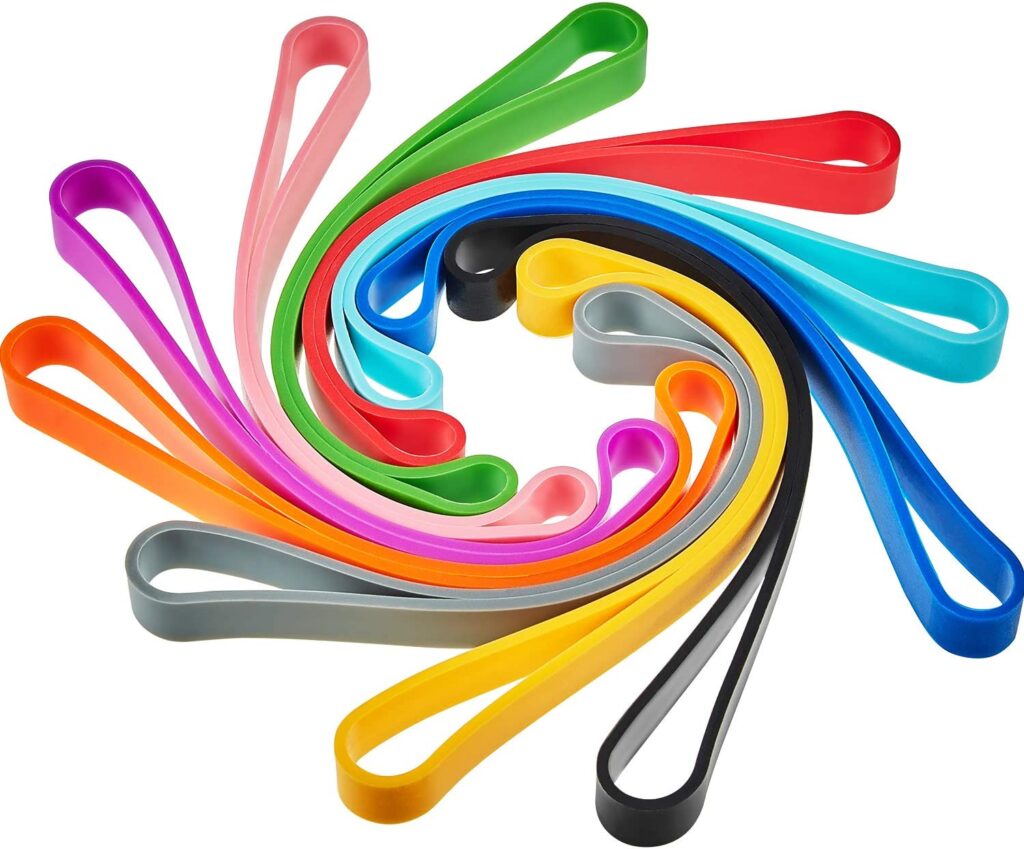
Giant Rubber Bands for Flexible Wrists
Giant rubber bands can be an excellent way to demonstrate flexible wrists. When students lift their hands off the keys, they often let their fingertips fly up (I call it “jazz hands”) instead of leading with the wrist. However, by placing the student’s wrist inside a large rubber band and holding it from the top, you can demonstrate the perfect release!
Start by lifting the student’s hand off the keys using the rubber band and have them keep their fingers drooping downward. If students still aren’t quite getting it, you can use the other hand to gently keep the fingertips from flying away as you lift off. They can also pretend that a balloon string is tied to the wrist and gently lifting it upwards. Even without rubber bands, you can simply pull up on the student’s shirt cuff if they are wearing long sleeves.
You can find these giant rubber bands here on Amazon.
Supported Finger Joints
Early in my career, fixing collapsed finger joints in young students seemed futile. I’ve since learned that it’s more about helping students learn to coordinate and support the joints rather than a lack of finger strength or development. A good way to teach this is by having students hang each of their fingers off of the top of a pencil eraser or the edge of the fallboard while keeping the first joint strong.
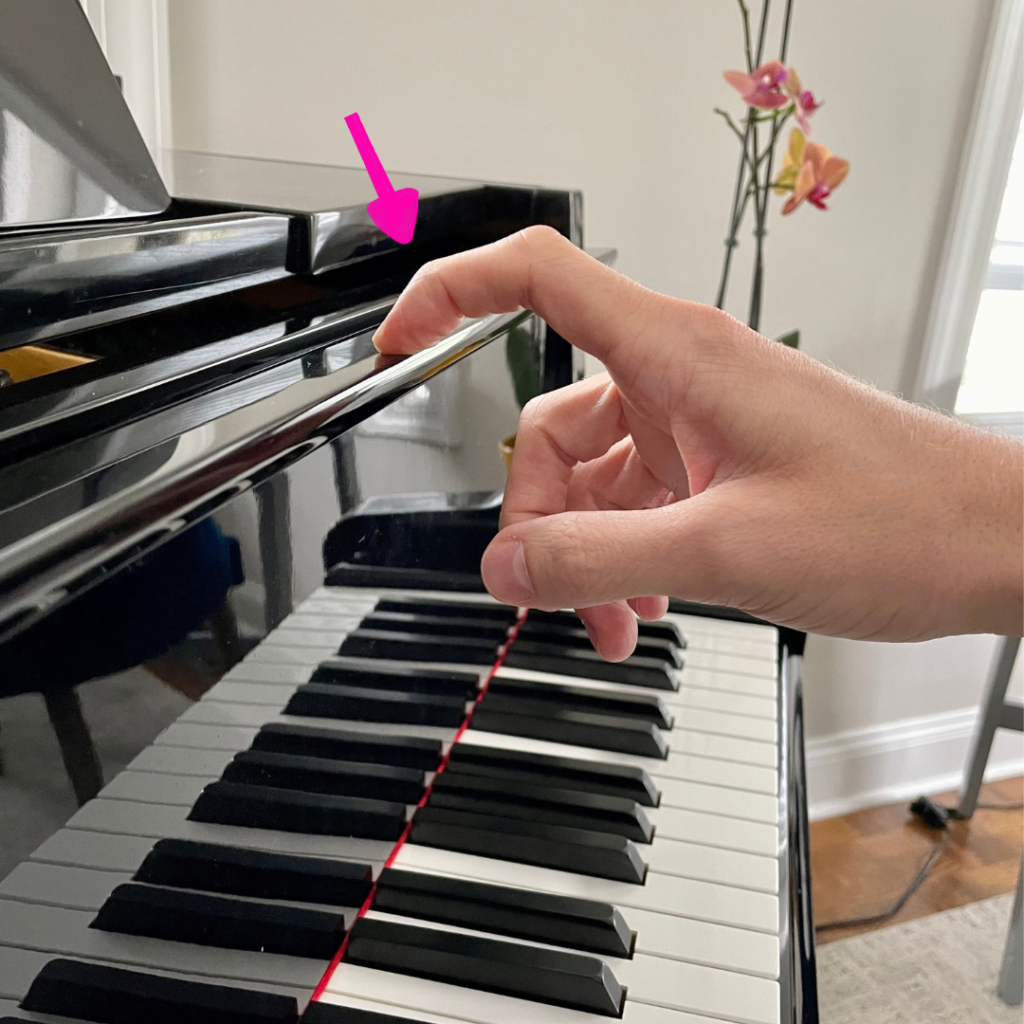
Or, have them make Os with their fingertips. Even most young students should be able to keep the first joint strong when doing this. If the first joint continues to collapse, go back and forth between these techniques until they can achieve the same feeling on a piano key.
There is a small amount of controlled tension needed to keep the first joint in place. If you don’t believe me, try placing your fingers on the piano keys without engaging the first joints in any way…they will wobble all over the place even for us adults! This exercise helps young students get familiar with the slightest controlled tension needed to keep the hand position stable.
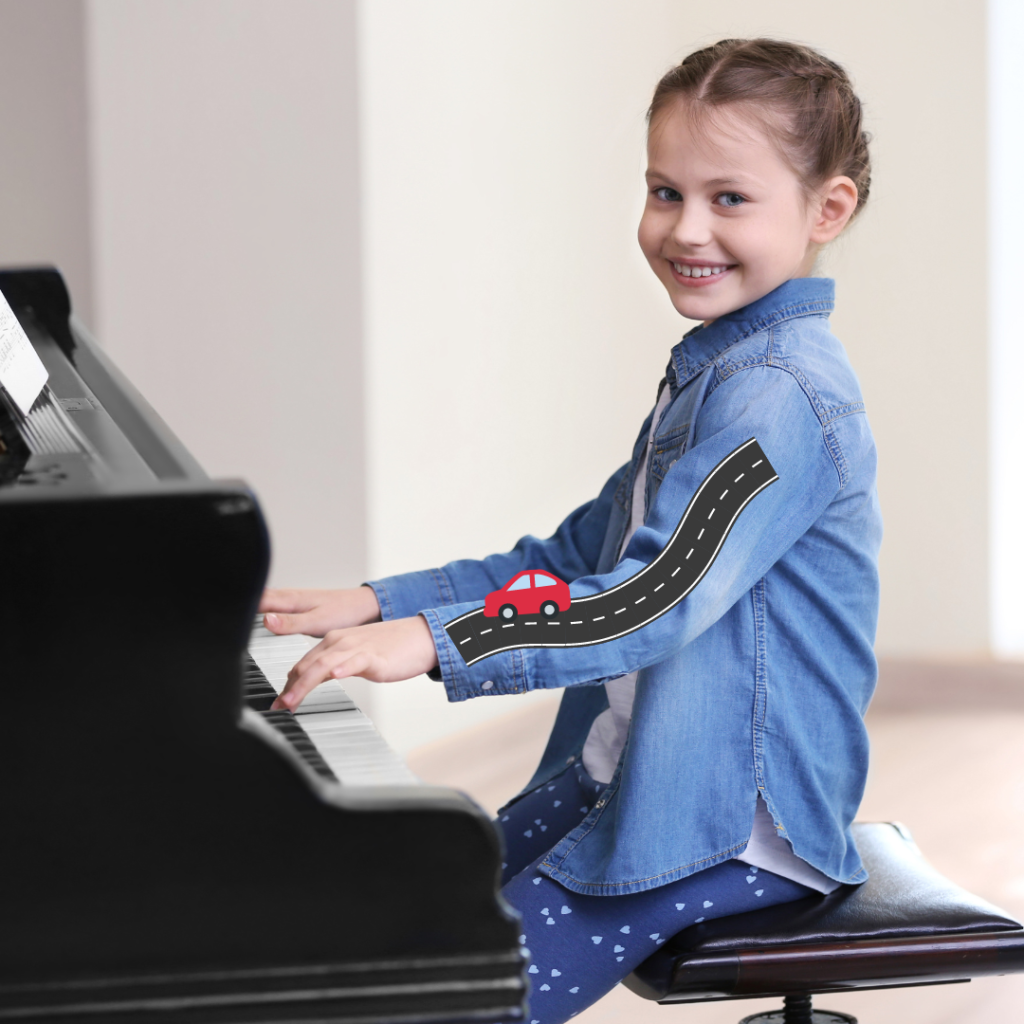
Driving the Car – Mary Craig Powell
There is more to piano technique than just the individual components of the fingers, wrist, and hand position. Sometimes they aren’t aligning or moving together properly. “Driving the Car” illustrates what alignment should look and feel like from shoulder to fingertip. The teacher should be able to safely drive an imaginary car from the shoulder to the fingertip without crashing. If the elbow is too high, the car sails off the road. If the wrist is too high, the car also careens off the road. If the wrist is too low, the car crashes into your hand! If everything is lined up properly, the car can safely make its way to its destination, Key City!
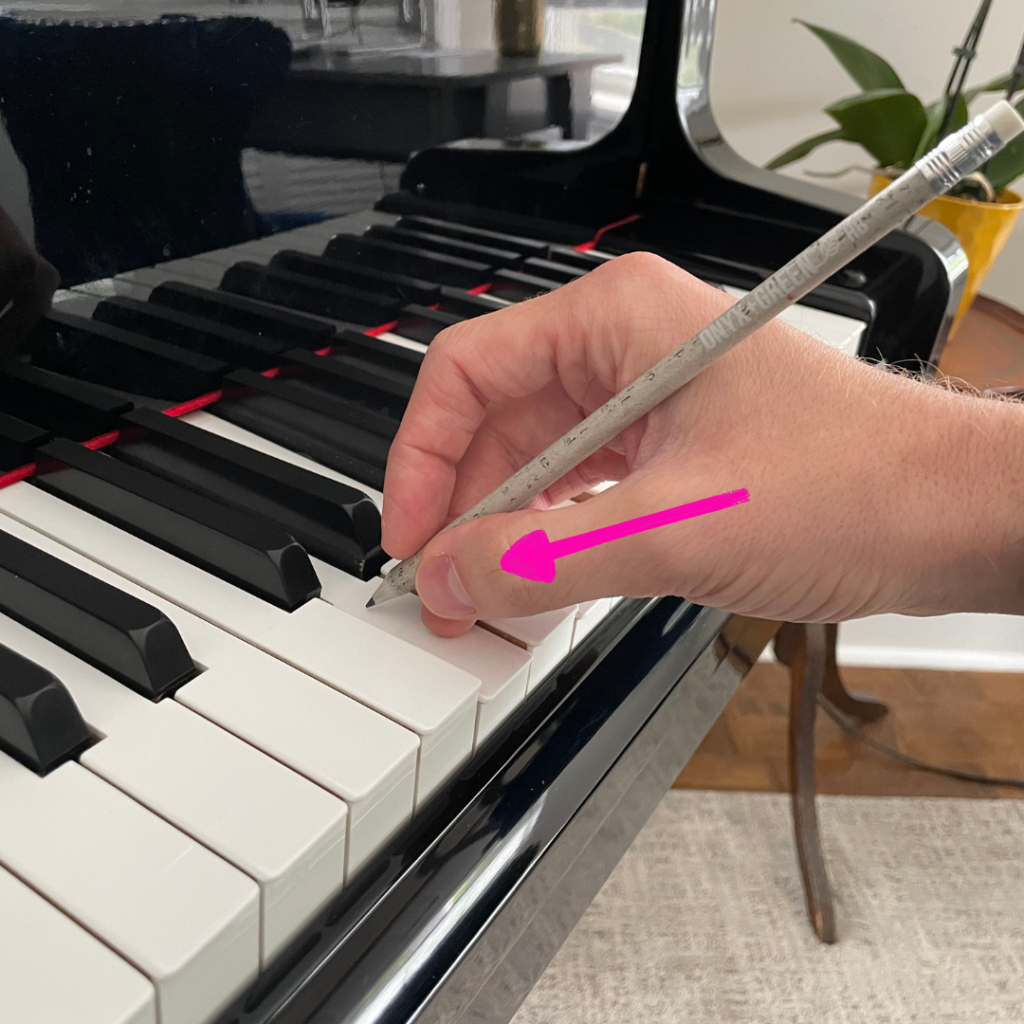
Holding a Pencil for Thumb Placement – Irina Gorin
If a student is having trouble learning how to place the thumb properly on the keys, have them hold a pencil. The thumb’s position when holding a pencil is very similar to the thumb’s position when playing a piano key. The thumb should be played on the side tip and be angled downward to the key rather than flat and collapsed.
Karate Pose to Check Distance – Faber Piano Adventures
Many of you are probably already familiar with this trick from Faber’s books. With students sitting on the front half of the bench, have them extend their fists forward to touch the fallboard. If their arms and back are straight, this is an ideal sitting distance from the piano. Once they bring the hands down to playing position, the elbows should be slightly in front of the body. I have my young students do this several times during every lesson in order to build the habit—the young ones definitely have a way of migrating all over that bench!
Heavy Wet Ropes – Faber Piano Adventures
Heavy wet ropes is another favorite analogy from Faber that illustrates arm weight. Start by having students dangle their arms freely from the shoulders to feel the weight of the arms. When they bring their arms up to the keyboard, they should continue to feel heavy, allowing the weight to rest down into the keys. We also sometimes call this “spaghetti noodles.” The Piano Safari method also has an etude called the “Lion Paw” that teaches students how to use heavy arms to achieve a full sound.
The Beach House – Davis Dorrough
One of my own creations is called the beach house. After becoming incredibly frustrated that students’ wrists continued to drop and hand positions collapse, I came up with this analogy. I start by describing a beach house that stands strong on stilts by the ocean. This house on stilts won’t get flooded!

Just like a beach house, we need to keep our hands up and supported by our fingers at all times. When I see a student collapsing, I simply say “Your beach house is sinking into the ocean,” and they know what to do. To keep it fresh, I’ll sometimes say “There’s a shark in your living room” or “an octopus in your kitchen. Oh my! You better fix that!”
Do I really need to use all these metaphors and tricks?
As Frances Clark once said, “Telling is not teaching.” It is essential to move from the known to the unknown for our students to truly grasp new learning. All of these technical principles can be especially abstract for young people, but your students probably already know about flowers, cars, pencils, monkeys, and more. Furthermore, making your teaching approach novel, unexpected, and humorous can lead to things sticking in profoundly better ways. And, if you find unique ways to craft a clever story, they’ll probably remember it for life!

A passionate music educator, presenter, and author, Davis spends his days empowering music students through creative teaching and music education resources. He is a frequent presenter at conferences and workshops across the nation and is co-author of the Easy Piano Lead Sheets and Chord Charts series. He currently lives in Cincinnati, Ohio.

Pingback: Friday Finds #261 – Piano Pantry